In the Element Options panel there are two fields called Markup before and Markup after as shown here:
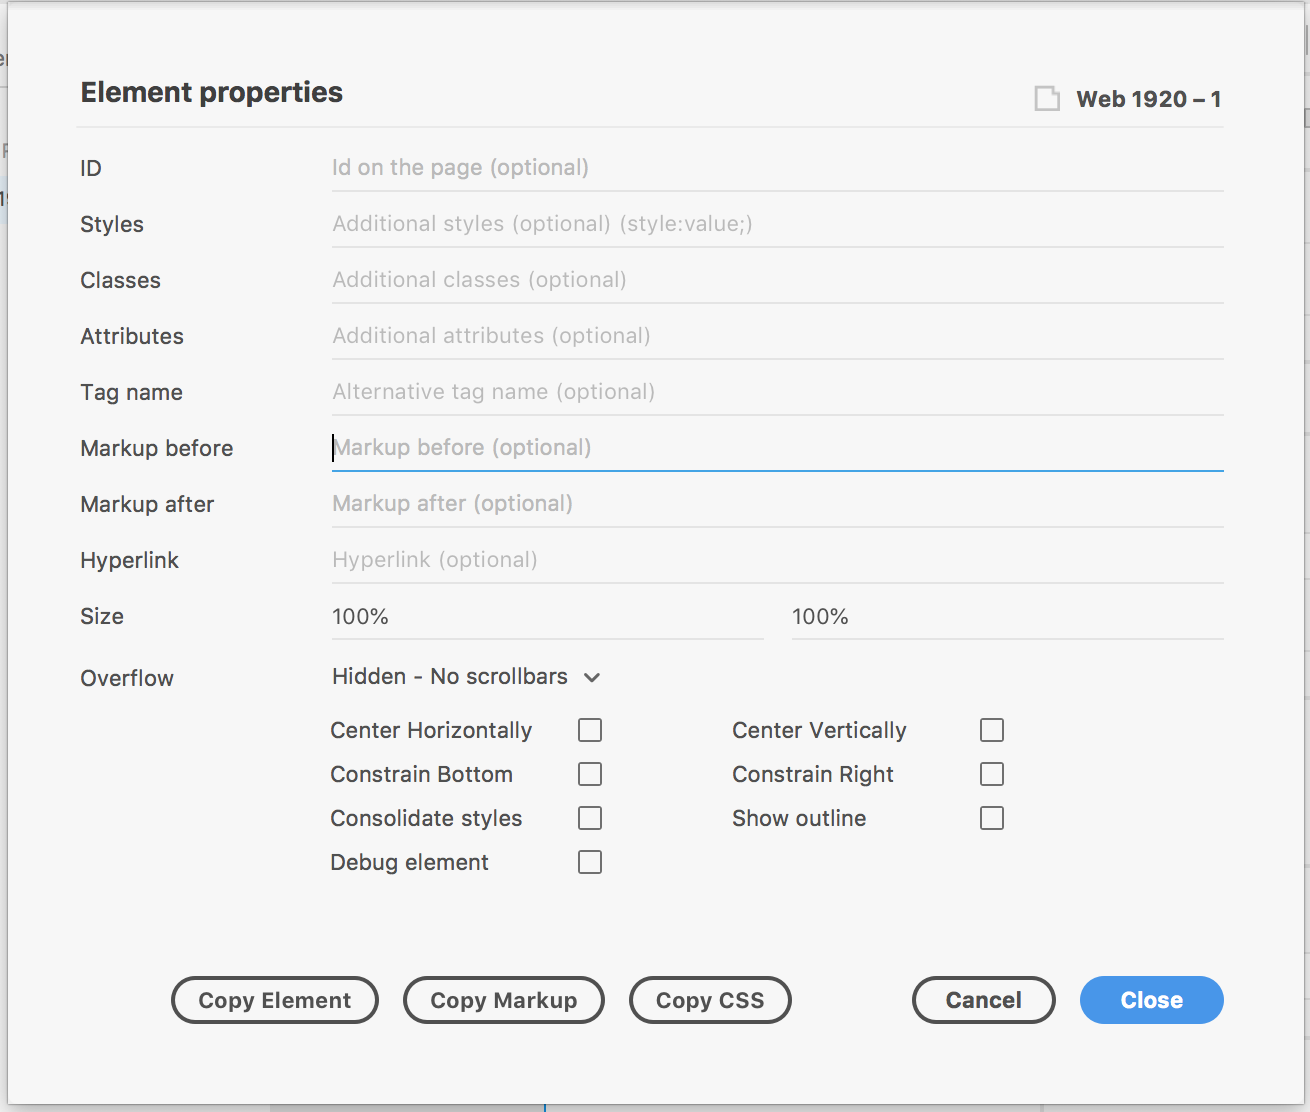
These fields basically do what they sound like. They allow you to add any sort of markup before the element tag or after the element tag.
When would you need something like this? Let’s say you were exporting an image and you wanted to make it a hyperlink. Ignore the fact that there is a hyperlink field for moment.
We all know that to make a hyperlink you add an anchor tag before and after the element you want to have a hyperlink.
In code that would be:
// before
<img src="mycat_thumbnail.png" />

// after
<a href="mycat_large.png">
    <img src="mycat_thumbnail.png"/>
</a>
To do this in Web Export we use the markup before and markup after fields like so:

We can also use this to add additional content after the artboard.
For example, if we wanted we could add a script or style tag or both to the end of the document we could use these fields.
To do this:
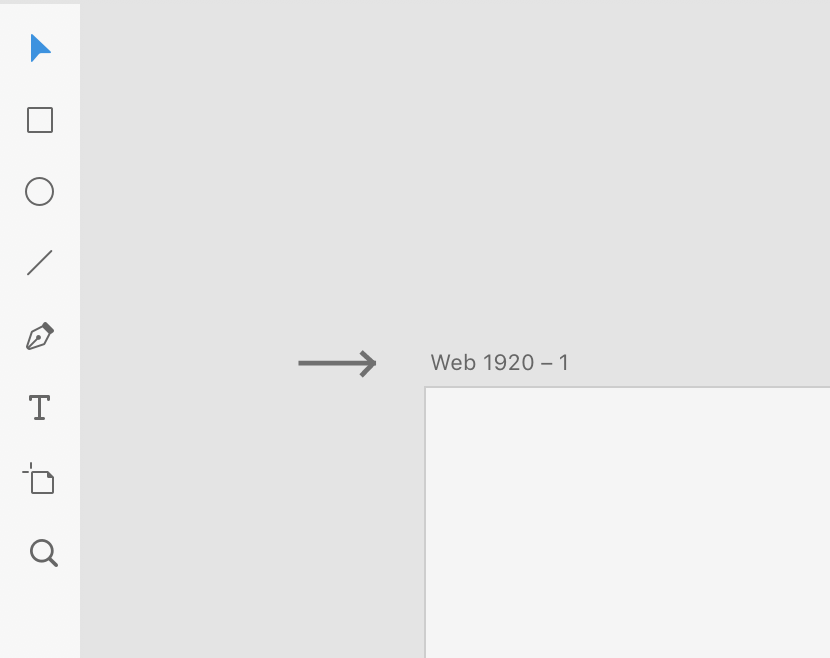
- Click the artboard name (above the artboard)
After selected:
- Once selected open the Element Options
- In the Markup after enter the paths to your scripts and styles

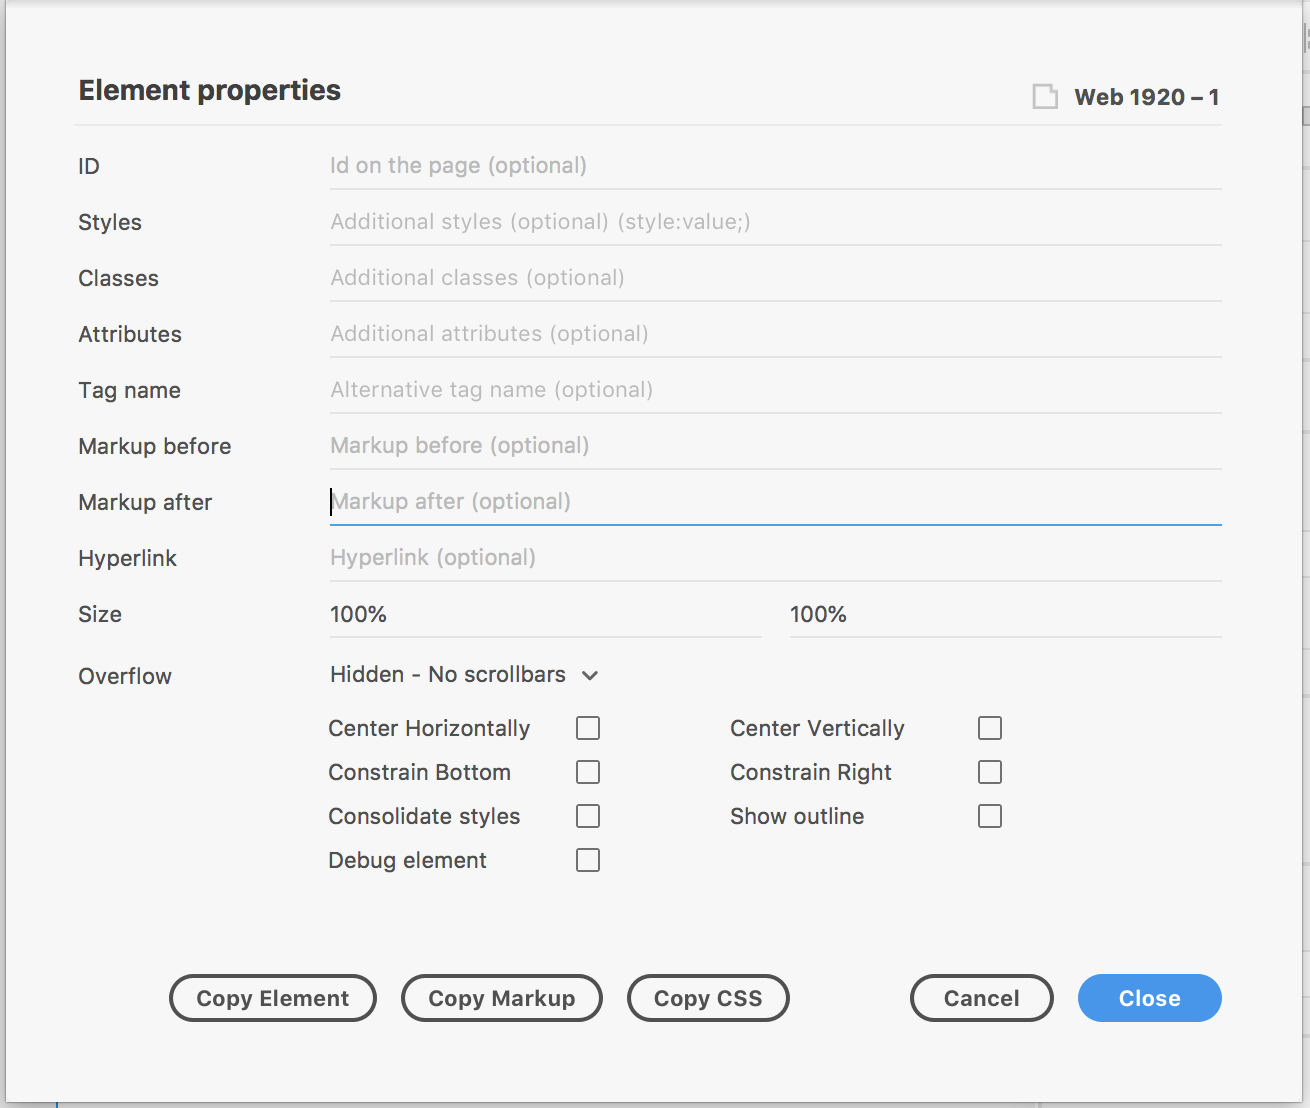
That results in:
<html>
  ⋮
  <body>
    <div id="Web_1920___1">
      <p>
        Hello World
      </p>
    </div>
  </body>
  <script src="myscript.js"></script><link rel="stylesheet" href="css/mystyles.css" />
</html>