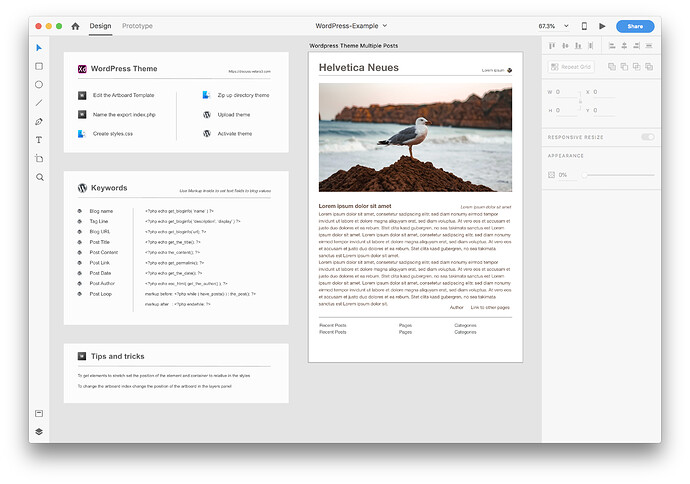
Web Export has a new template field that allows you to use your own template. This enables you to create a setup that fits the platform you are targeting.
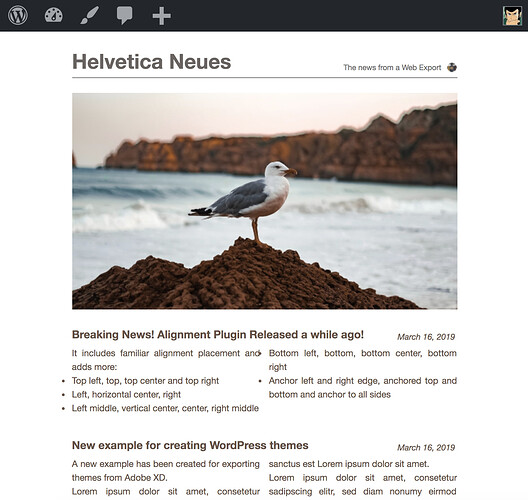
In this example we will be creating a “Hello World” edition of a Word Press theme. The project is attached.
The basic steps are as follows (examples attached):
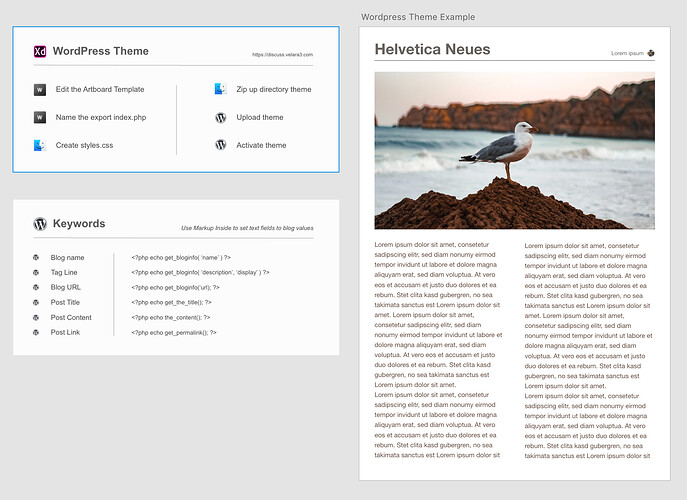
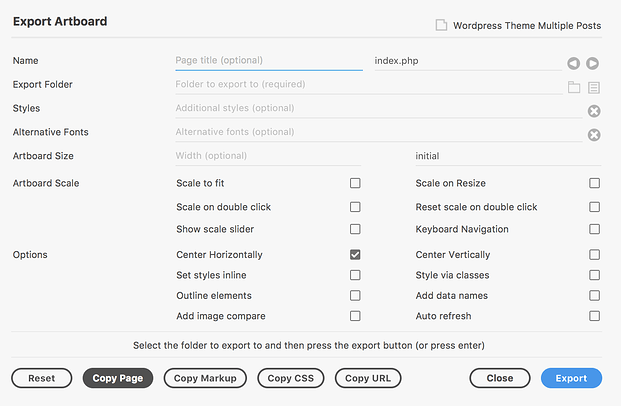
- Select your artboard and open up Web Export > Export Artboard
- Open the Template option and enter the Wordpress Template markup (shown below)
- Name the file index.php (2.2.2 will allow file names with file extensions)
- Export the artboard and images to it’s own directory (example-theme)
- In that directory create a CSS file named styles.css with your details. (shown below)
5.5 Optionally export an image of your artboard (CMD + E) and name it screenshot.png - Zip up all the exported files and images in your directory (example-theme.zip)
- In your WordPress dashboard go to Themes > Add New > Upload Theme
- Upload example-theme.zip and then activate it
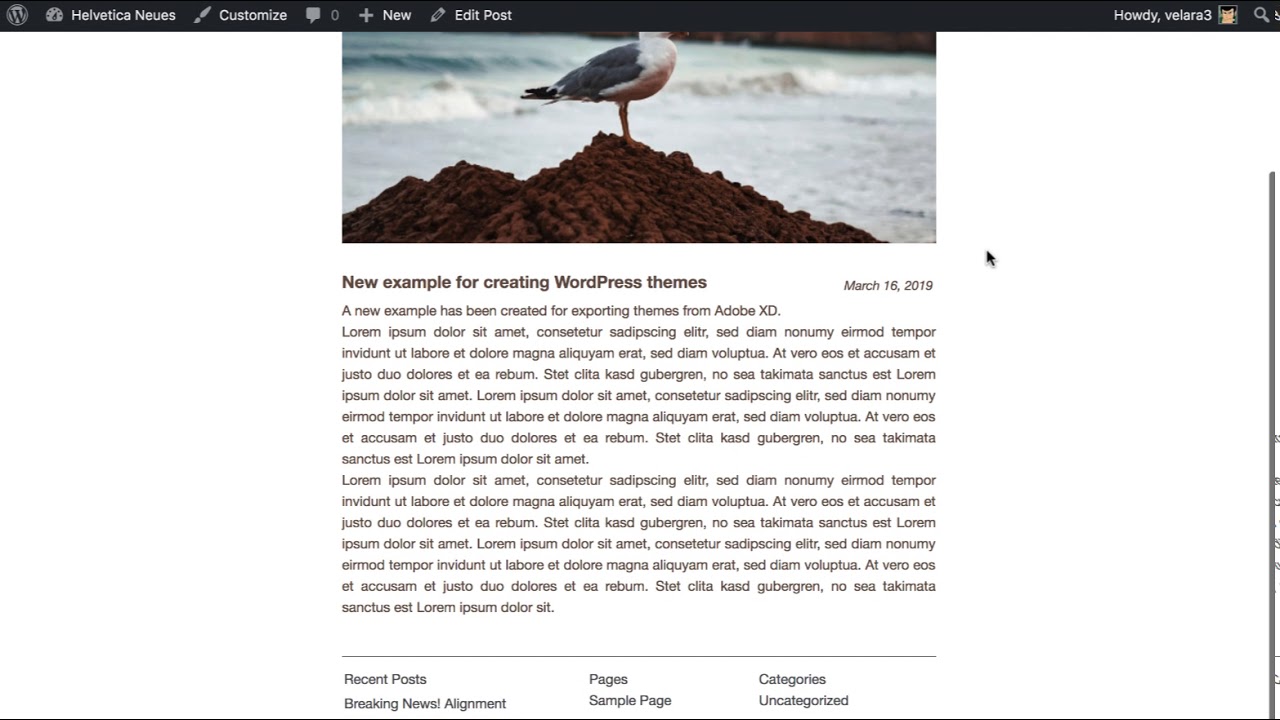
- View your site
Some links and images may be broken (in earlier examples).
Depending on how you define your hyperlinks you may need to do two things.
-
Add a base tag to your page (the page template value when you export):
<base href="location-to-your-theme-directory-here/"> // or use <base href="<?php echo get_stylesheet_directory_uri(); ?>/"> -
Change any relative page or anchor links from “#anchorName” to “/#anchorName”
Or if you don’t want to use a base tag as shown above you may have to define the correct path to the images directory.
- Find any images or links and add
<?php echo get_stylesheet_directory_uri(); ?>/directly before the file name.
This guide should get you to step one.
There is more to it of course and you can organize your code better by separating out the sections of your page into separate files.
Look for another guide coming soon. Some new Web Export features are coming soon to help this along.
WordPress Template:
<!DOCTYPE html>
<html <?php language_attributes(); ?>
<head>
<meta charset="utf-8"/>
<meta http-equiv="X-UA-Compatible" content="IE=edge"/>
<title><?php $title = trim( wp_title( ' ', FALSE ) ); print ''=== $title ? get_bloginfo( 'name' ) : $title; ?></title>
<?php wp_head(); ?>
<!--styles_content-->
<base href="<?php echo get_stylesheet_directory_uri() ?>/"/>
</head>
<!--body_content-->
<?php wp_footer(); ?>
styles.css file:
/*
Theme Name:    Example Theme
Description:   A theme created in Adobe XD CC with Web Export
Version:       2019.03.05
Author:        Your Name
Author URI:    http://example.com/
Author E-Mail: contact@example.com
*/
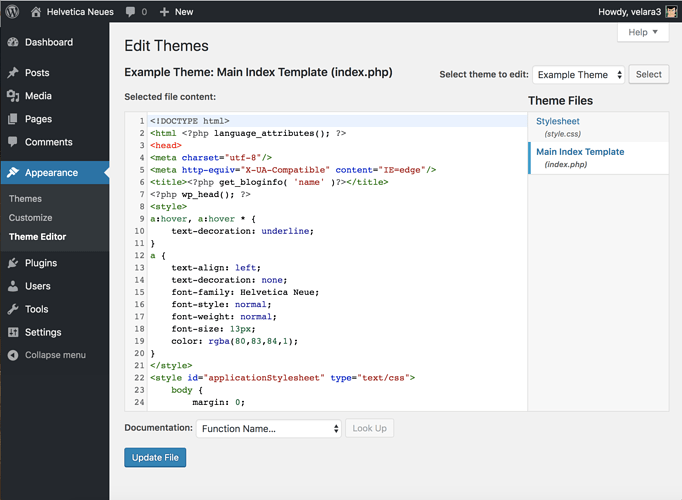
After uploading and activating your theme you can make modifications in Wordpress itself by going to the theme editor and copying and pasting any new or modified code.
Although, if you add any new images to your design you’ll have to export again, zip up your theme and upload again.
There is also the option to create a single HTML page, called a Single Page Application and use the WordPress REST API to get the blog content through AJAX when the page loads.
UPDATE: There are newer examples in the next post.
Example-WordPress-Theme_1.0.0.zip (672.3 KB)
WordPress API more info
WordPress REST API more info
Web Export Documentation
