If you are using Web Export to develop applications and you are a developer or a designer who is working with a developer this guide is for you.
There is a way to build your user interface and setup your project so that you or the developer who wires everything together will be able to work on the page in VS Code (vscode) and get code completion, code hinting, typescript support and at the same time the design can be modified easily and it doesn’t destroy your code (within reason). FYI an updated setup instruction is here.
The one key rule is to create a JavaScript file or TypeScript file that contains the names or ids or classes of the elements on your artboard. The javascript / typescript class that you create references this view class. If you keep that updated the designer can update the view as much as they want and the developer can update their code as much as they want and keep the view and application logic separate.
In Adobe XD, or possibly other design tools (more to come) after you have created your user interface designs you need to then export the designs to web pages that the developer can use them. You need to do a few things on the design side and the development side and then this process flows.
The big picture or basic outline is this:
- Create the designs in XD and export with Web Export
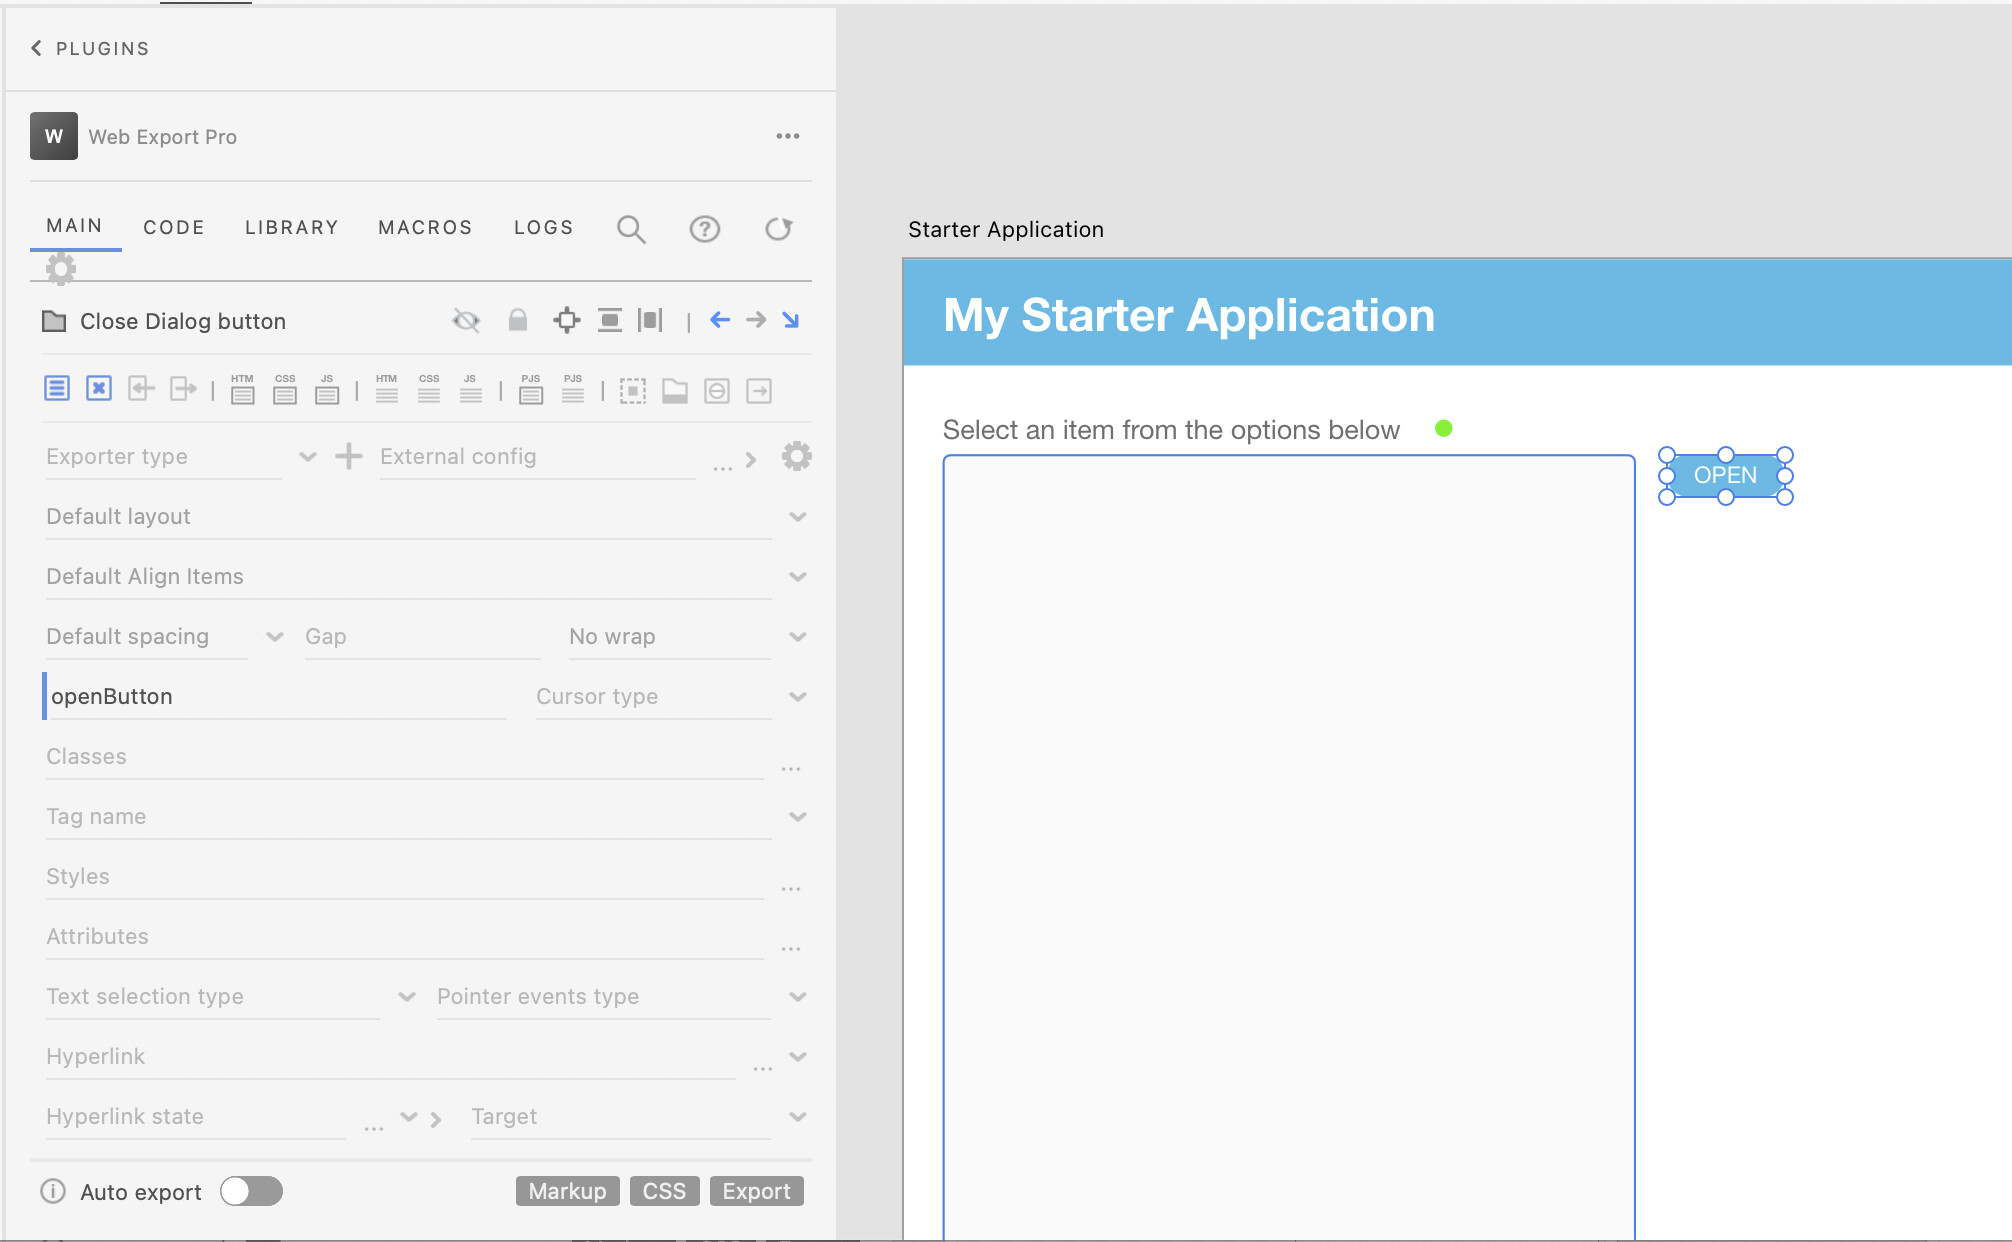
- Give ids to elements you need to reference (usually interactive items that are part of the view) (or give them unique class names)
- Convert any elements that need to be form elements into form elements
- Create any item renderers (for repeated items like grids or lists - can be their own artboards)
- Create any pop up dialogs (can be their own artboard)
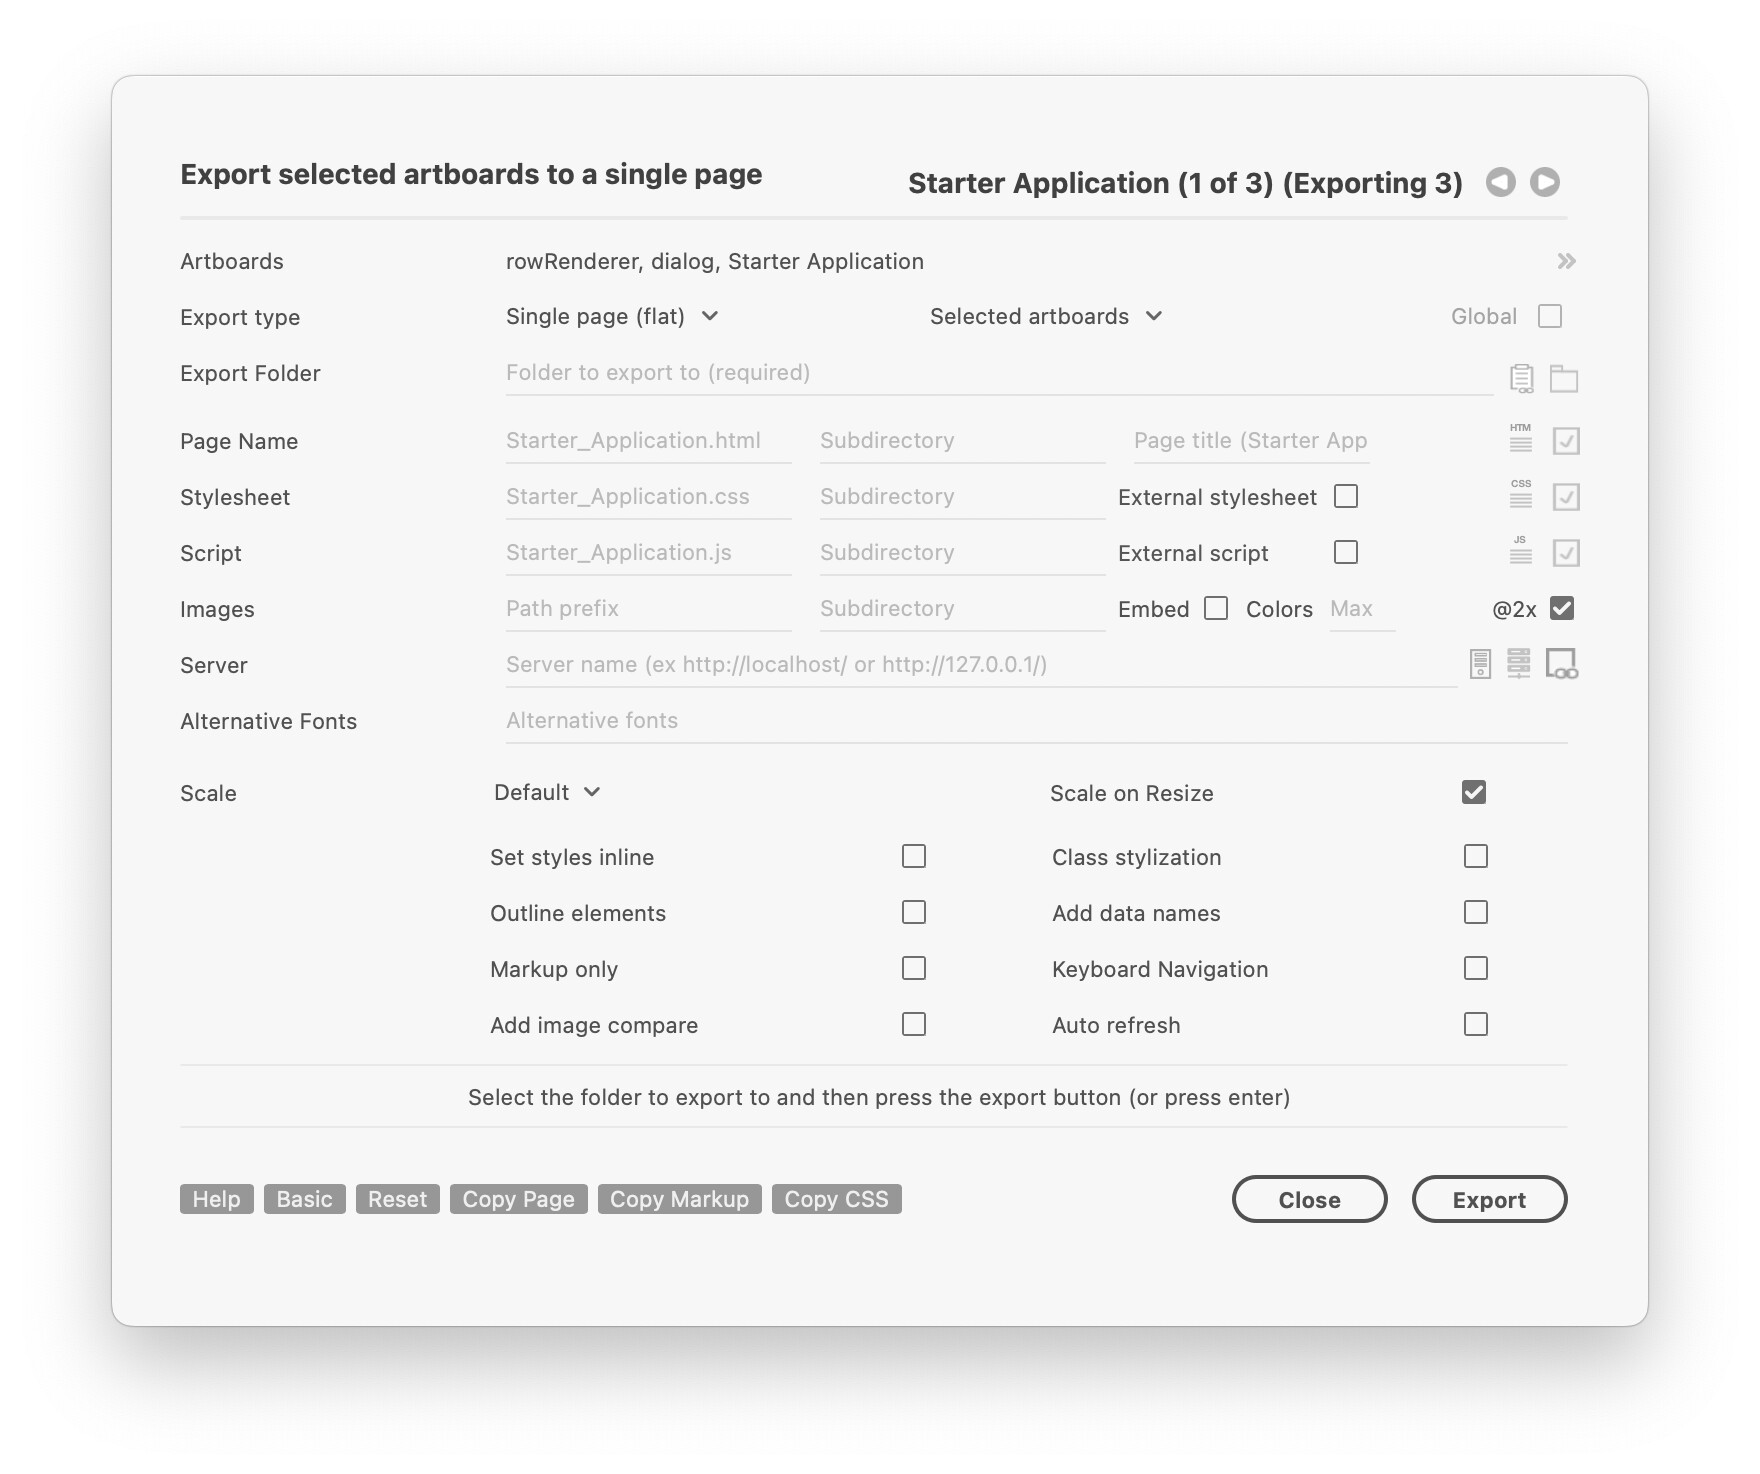
- Export the page using Web Export, Select all the artboards, the item renderers and the pop ups together (as a flat export)
- Developer focused steps next
- Create a view class in VSCode (hopefully automated in the future)
- Create the application class in VSCode (extending the base class - see the readme here)
- Instantiate the application (in JavaScript in your HTML page) and put your code in the start function
If you don’t know what this means that means you need to read this guide or this guide.
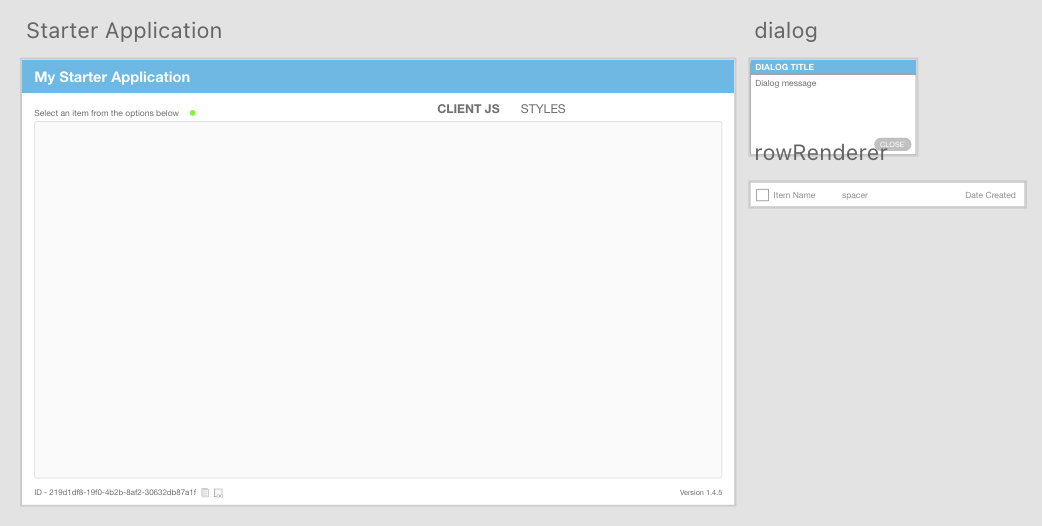
Create the artboards
In XD create the artboards and related items and export them with Single Page (flat)
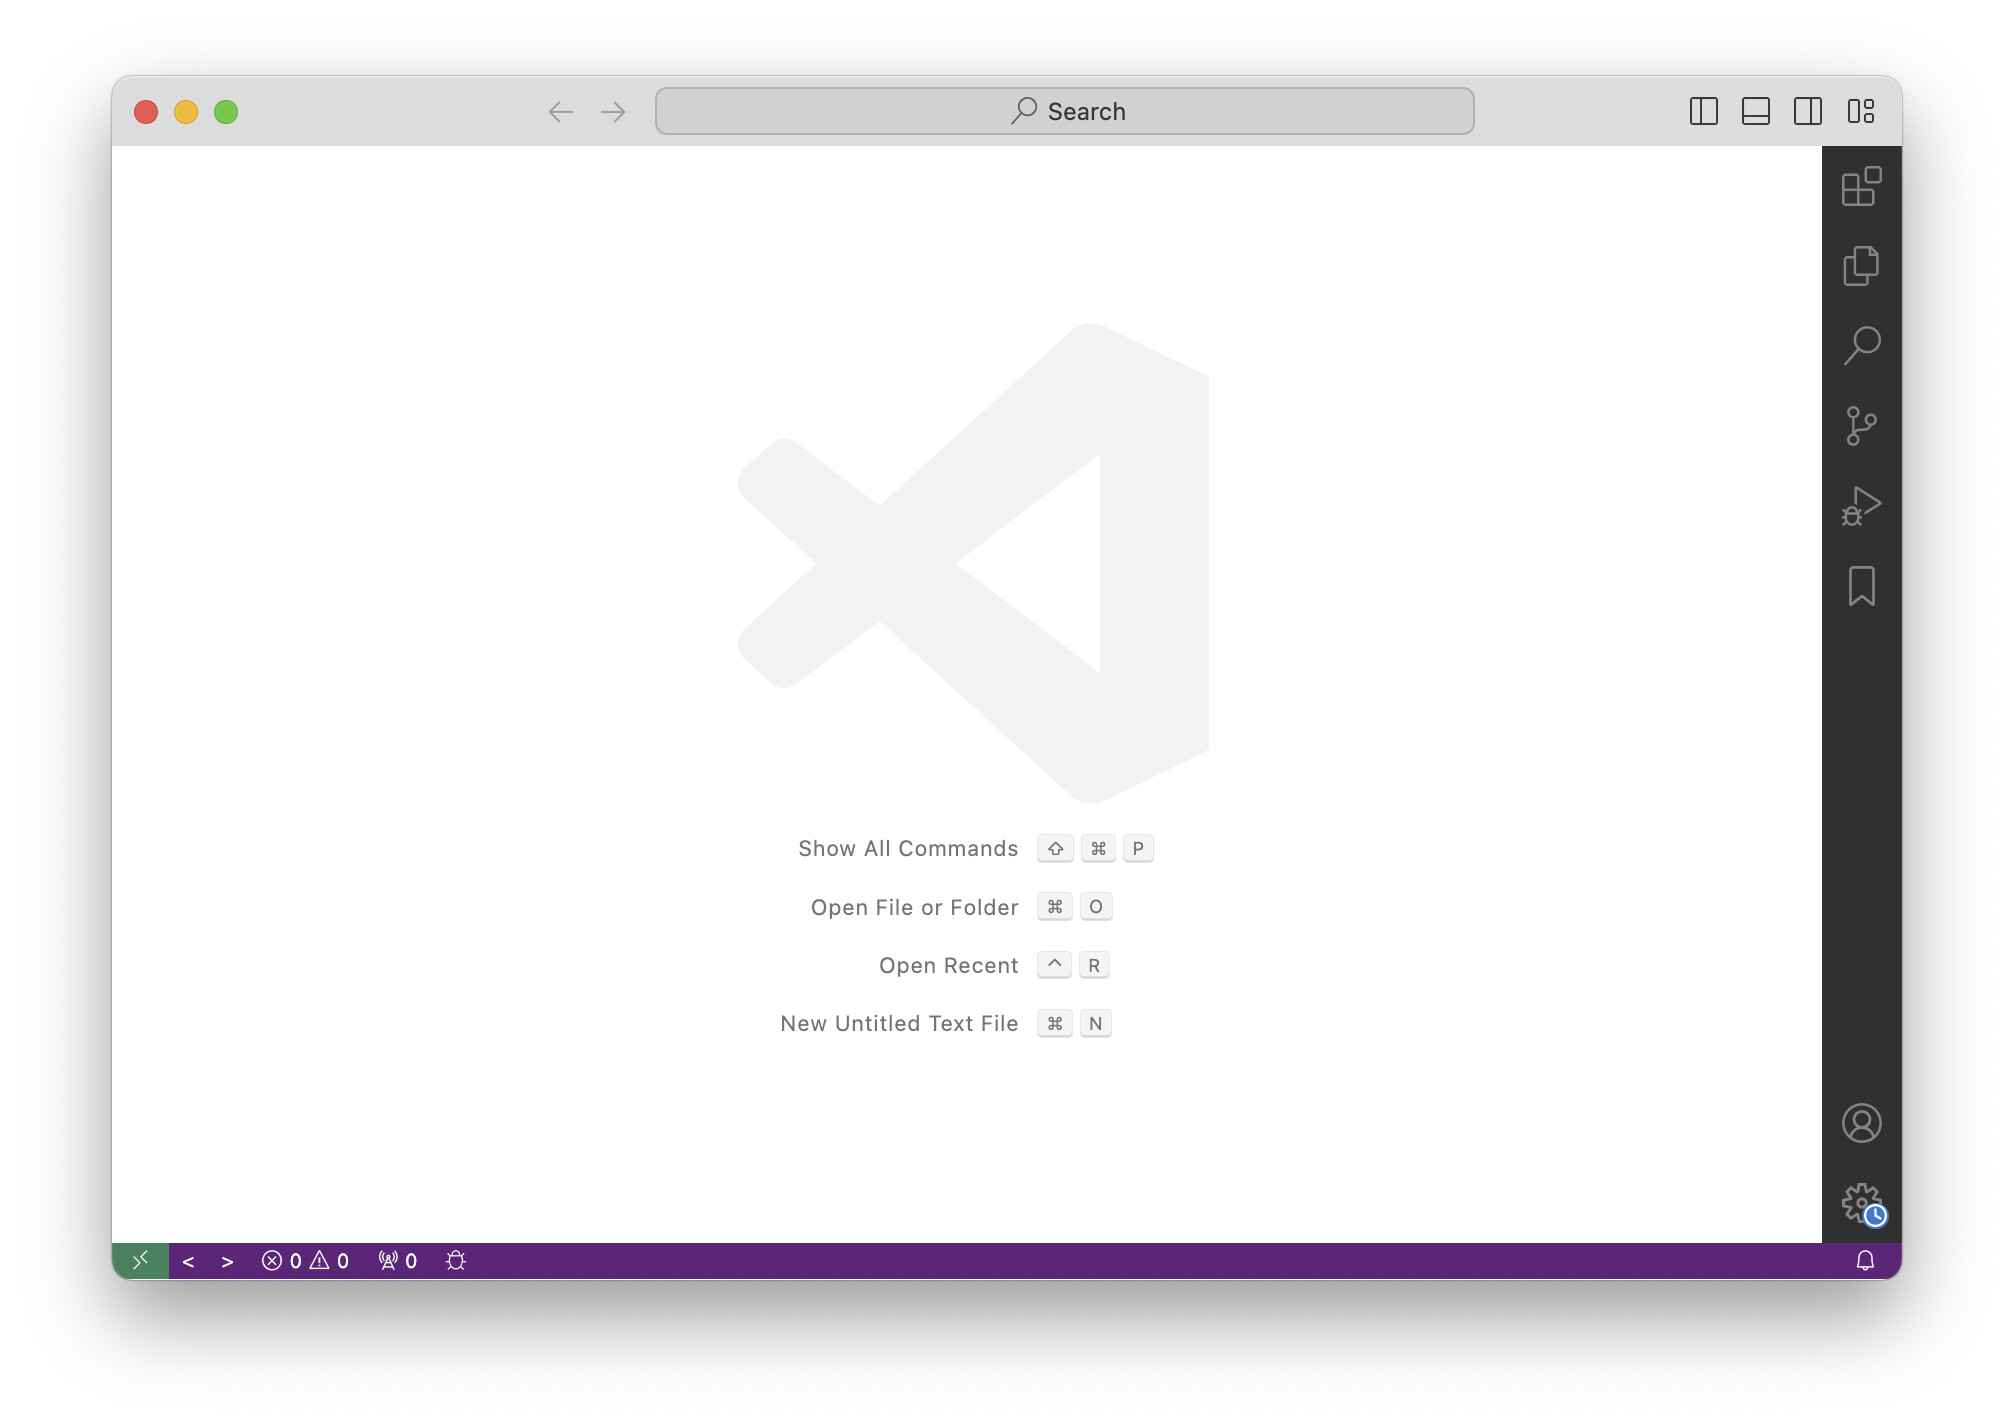
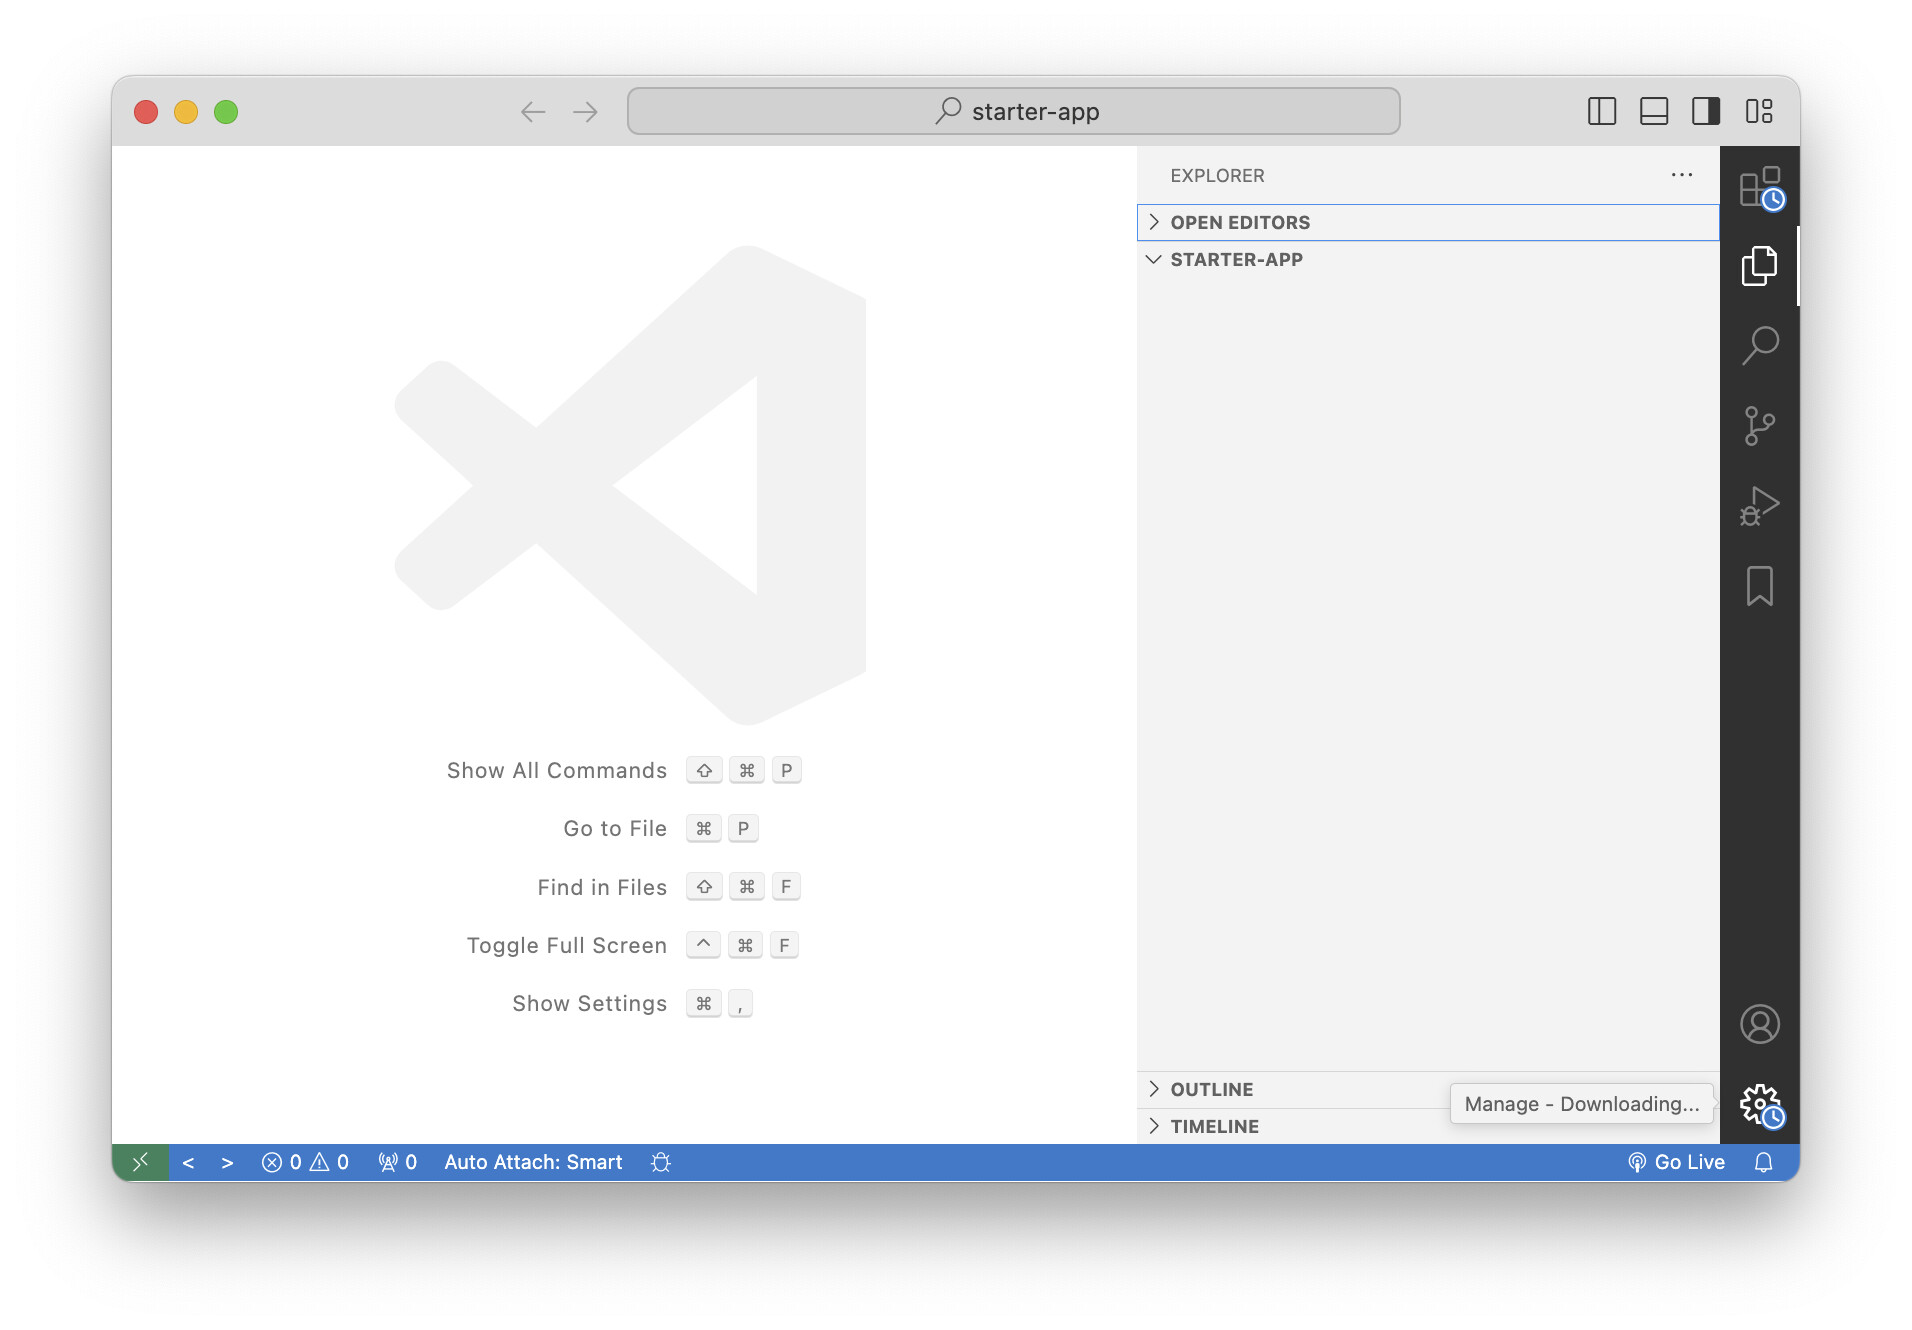
Open VS Code and open a new window
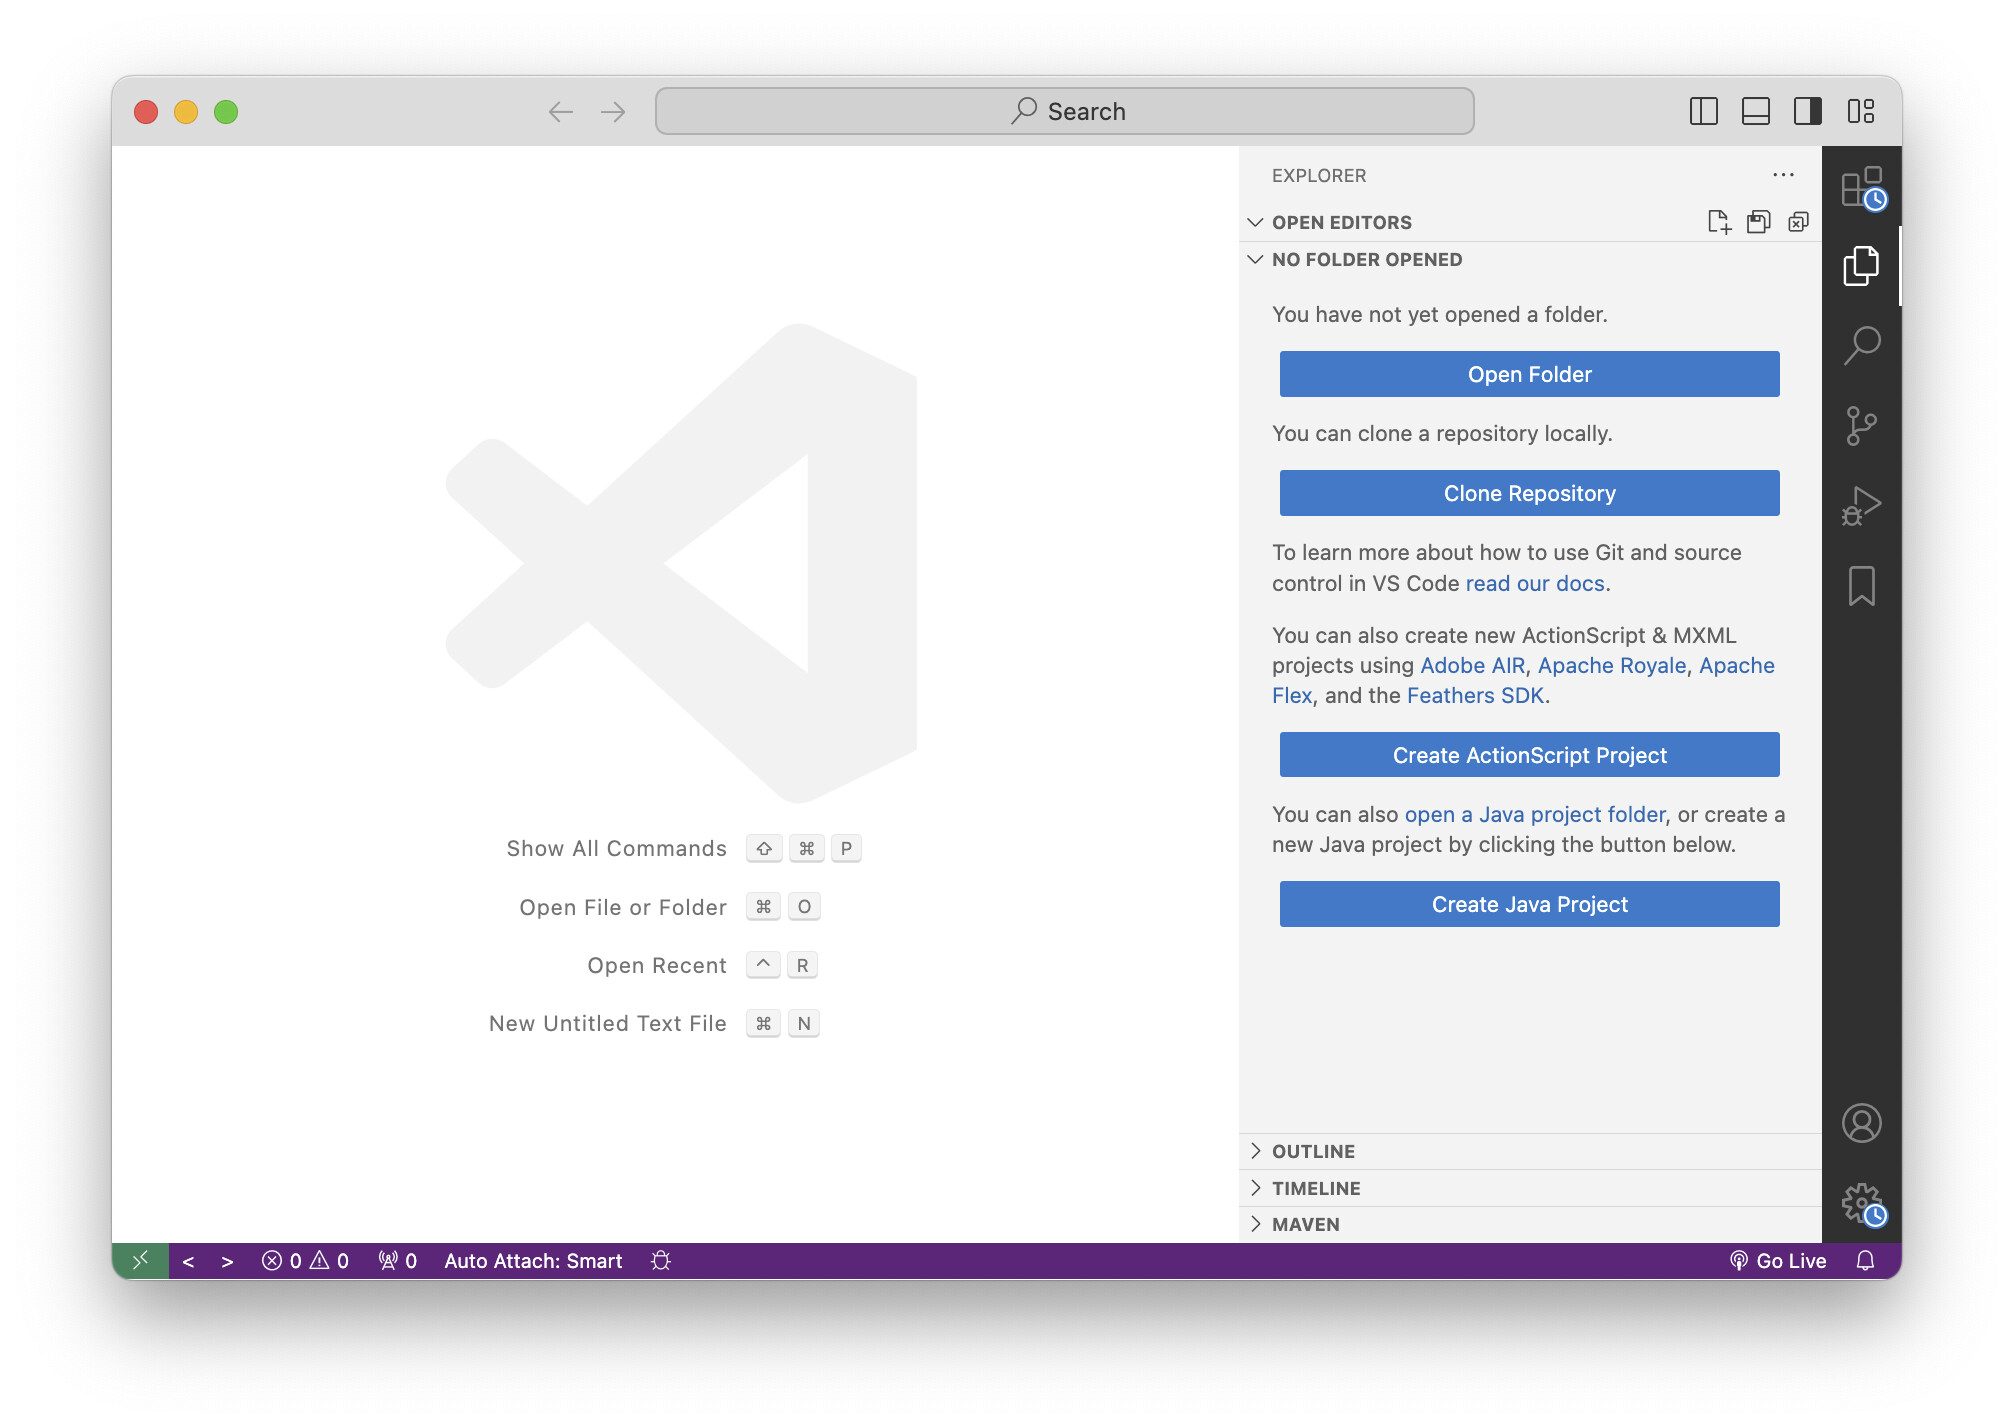
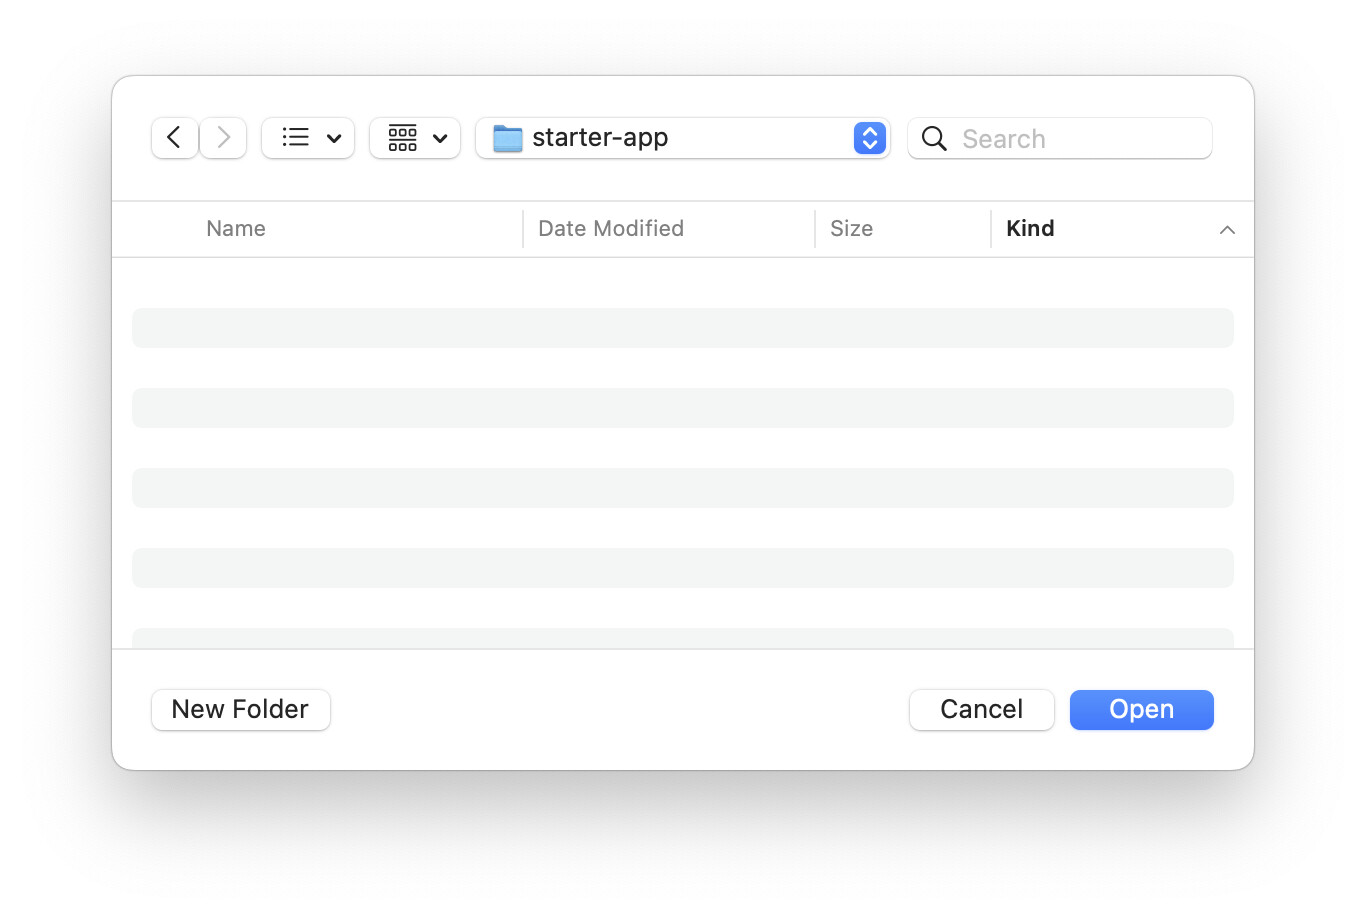
Open the folder view:
Usually /documents/repositories/my-project-name:
If a dialog appears asking if you can Trust the Authors click yes since you are the author.
You now have an empty project:
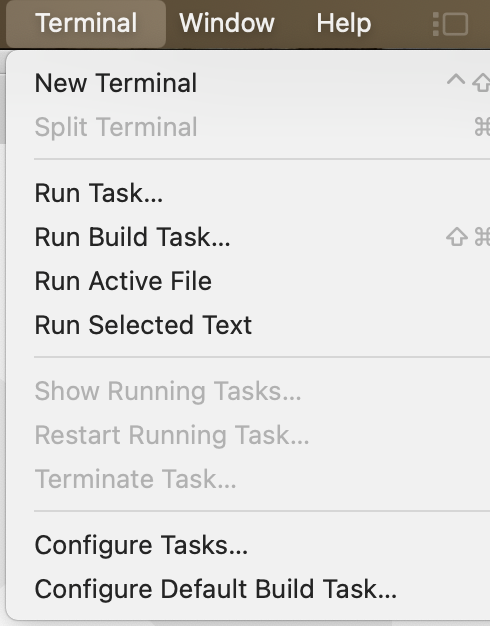
Open a new terminal window
Make sure that Typescript is installed (skip this section if you don’t want to use typescript)
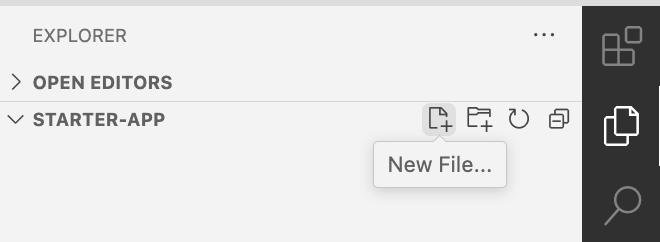
Next, create your application class,
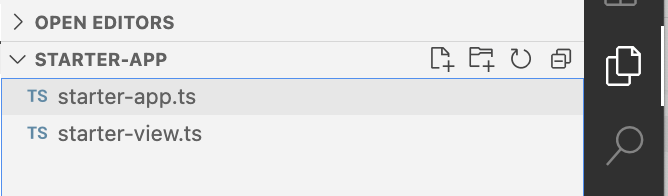
starter-app.ts (or for JavaScript only, starter-app.js).
starter-app.ts:
class StarterApp {
   constructor() {

   }
}
Next create your view class starter-view.ts or view elements starter-elements.ts:
The view class or view elements contains references to all the elements in the application you want to reference or interact with via code.
The main difference in the two options is how they are defined and how they are imported later.
starter-view.ts:
export class StarterView {
   tokenInput = document.getElementById("dialog") as HTMLDialogElement;
   openButton = document.getElementById("openButton") as HTMLElement;
}
starter-elements.ts:
export var dialog = document.querySelector("#dialog");
export var uploadButton = document.querySelector("#uploadButton");
Next we create our base class (this has been created already here) where we store functions that we will reuse in our application class (note - this class is now an npm package - you don’t have to create this file - you can extend it after installing the npm package):
export class BaseClass {

   constructor() {

   }

   bindProperties(mainClass) {
      var properties = Object.getOwnPropertyNames(mainClass.prototype);
      for (var key in properties) {
         var property = properties[key]
         if (property!=="constructor") {
            this[property] = this[property].bind(this);
         }
      }
   }
}
Now in our main class we extend the base class:
import { BaseClass } from "./base-class";

class StarterApp extends BaseClass {
   constructor() {
      super()
   }
}
Next we import the views into our main class:
import { BaseClass } from "./base-class";
import * as view from "./starter-elements.js";

class StarterApp extends BaseClass {
   constructor() {
      super()
      console.log("Starter app initialized");
   }

   override async contentLoaded() {
        console.log("Now our app is ready!");
   }
}

BaseClass.startWhenReady(StarterApp);
Now that the view is imported we call BaseClass.startWhenReady(StarterApp) and pass in the name of our main class. When the page is loaded the class is created and the start() method is called.
In your HTML page add a reference to your javascript class:
<!DOCTYPE html>
<html lang="en">

<head>
    <meta charset="UTF-8">
    <meta name="viewport" content="width=device-width, initial-scale=1.0">
    <title>Hello World</title>
</head>

<body>
    <h1 id="header">Hello World</h1>
    <script type="module" src="index.js">
    </script>
</body>

</html>
The script tag can be placed in the body or in the head. Make sure it is of type module.
Now that you have your class and your view you can interact with your web page view in code. Add event listeners to buttons or form submissions. Use the method setupEventListeners() to add event handlers.
import { BaseClass } from "./base-class";
import * as view from "./starter-elements.js";

class StarterApp extends BaseClass {
   constructor() {
      super()
      console.log("Starter app initialized");
   }

   override async start() {
        console.log("Now our app is ready!");
   }

   override setupEventListeners(): void {
      try {
         view.uploadButton.addEventListener("click", uploadClickHandler);
         window.addEventListener("click", () => {
            this.showAlert("Hello world")
         });
      }
      catch (error) {
         this.log(error);
      }
   }
   uploadClickHandler(event) {
       alert("you clicked a button!")
   }
}

BaseClass.startWhenReady(StarterApp);
The repository for this Base Class project is here.
Update:
You can skip some of the steps above that create the BaseClass. BaseClass is now a npm package that you can import. More instructions here.